Author: Nór Hernø
-
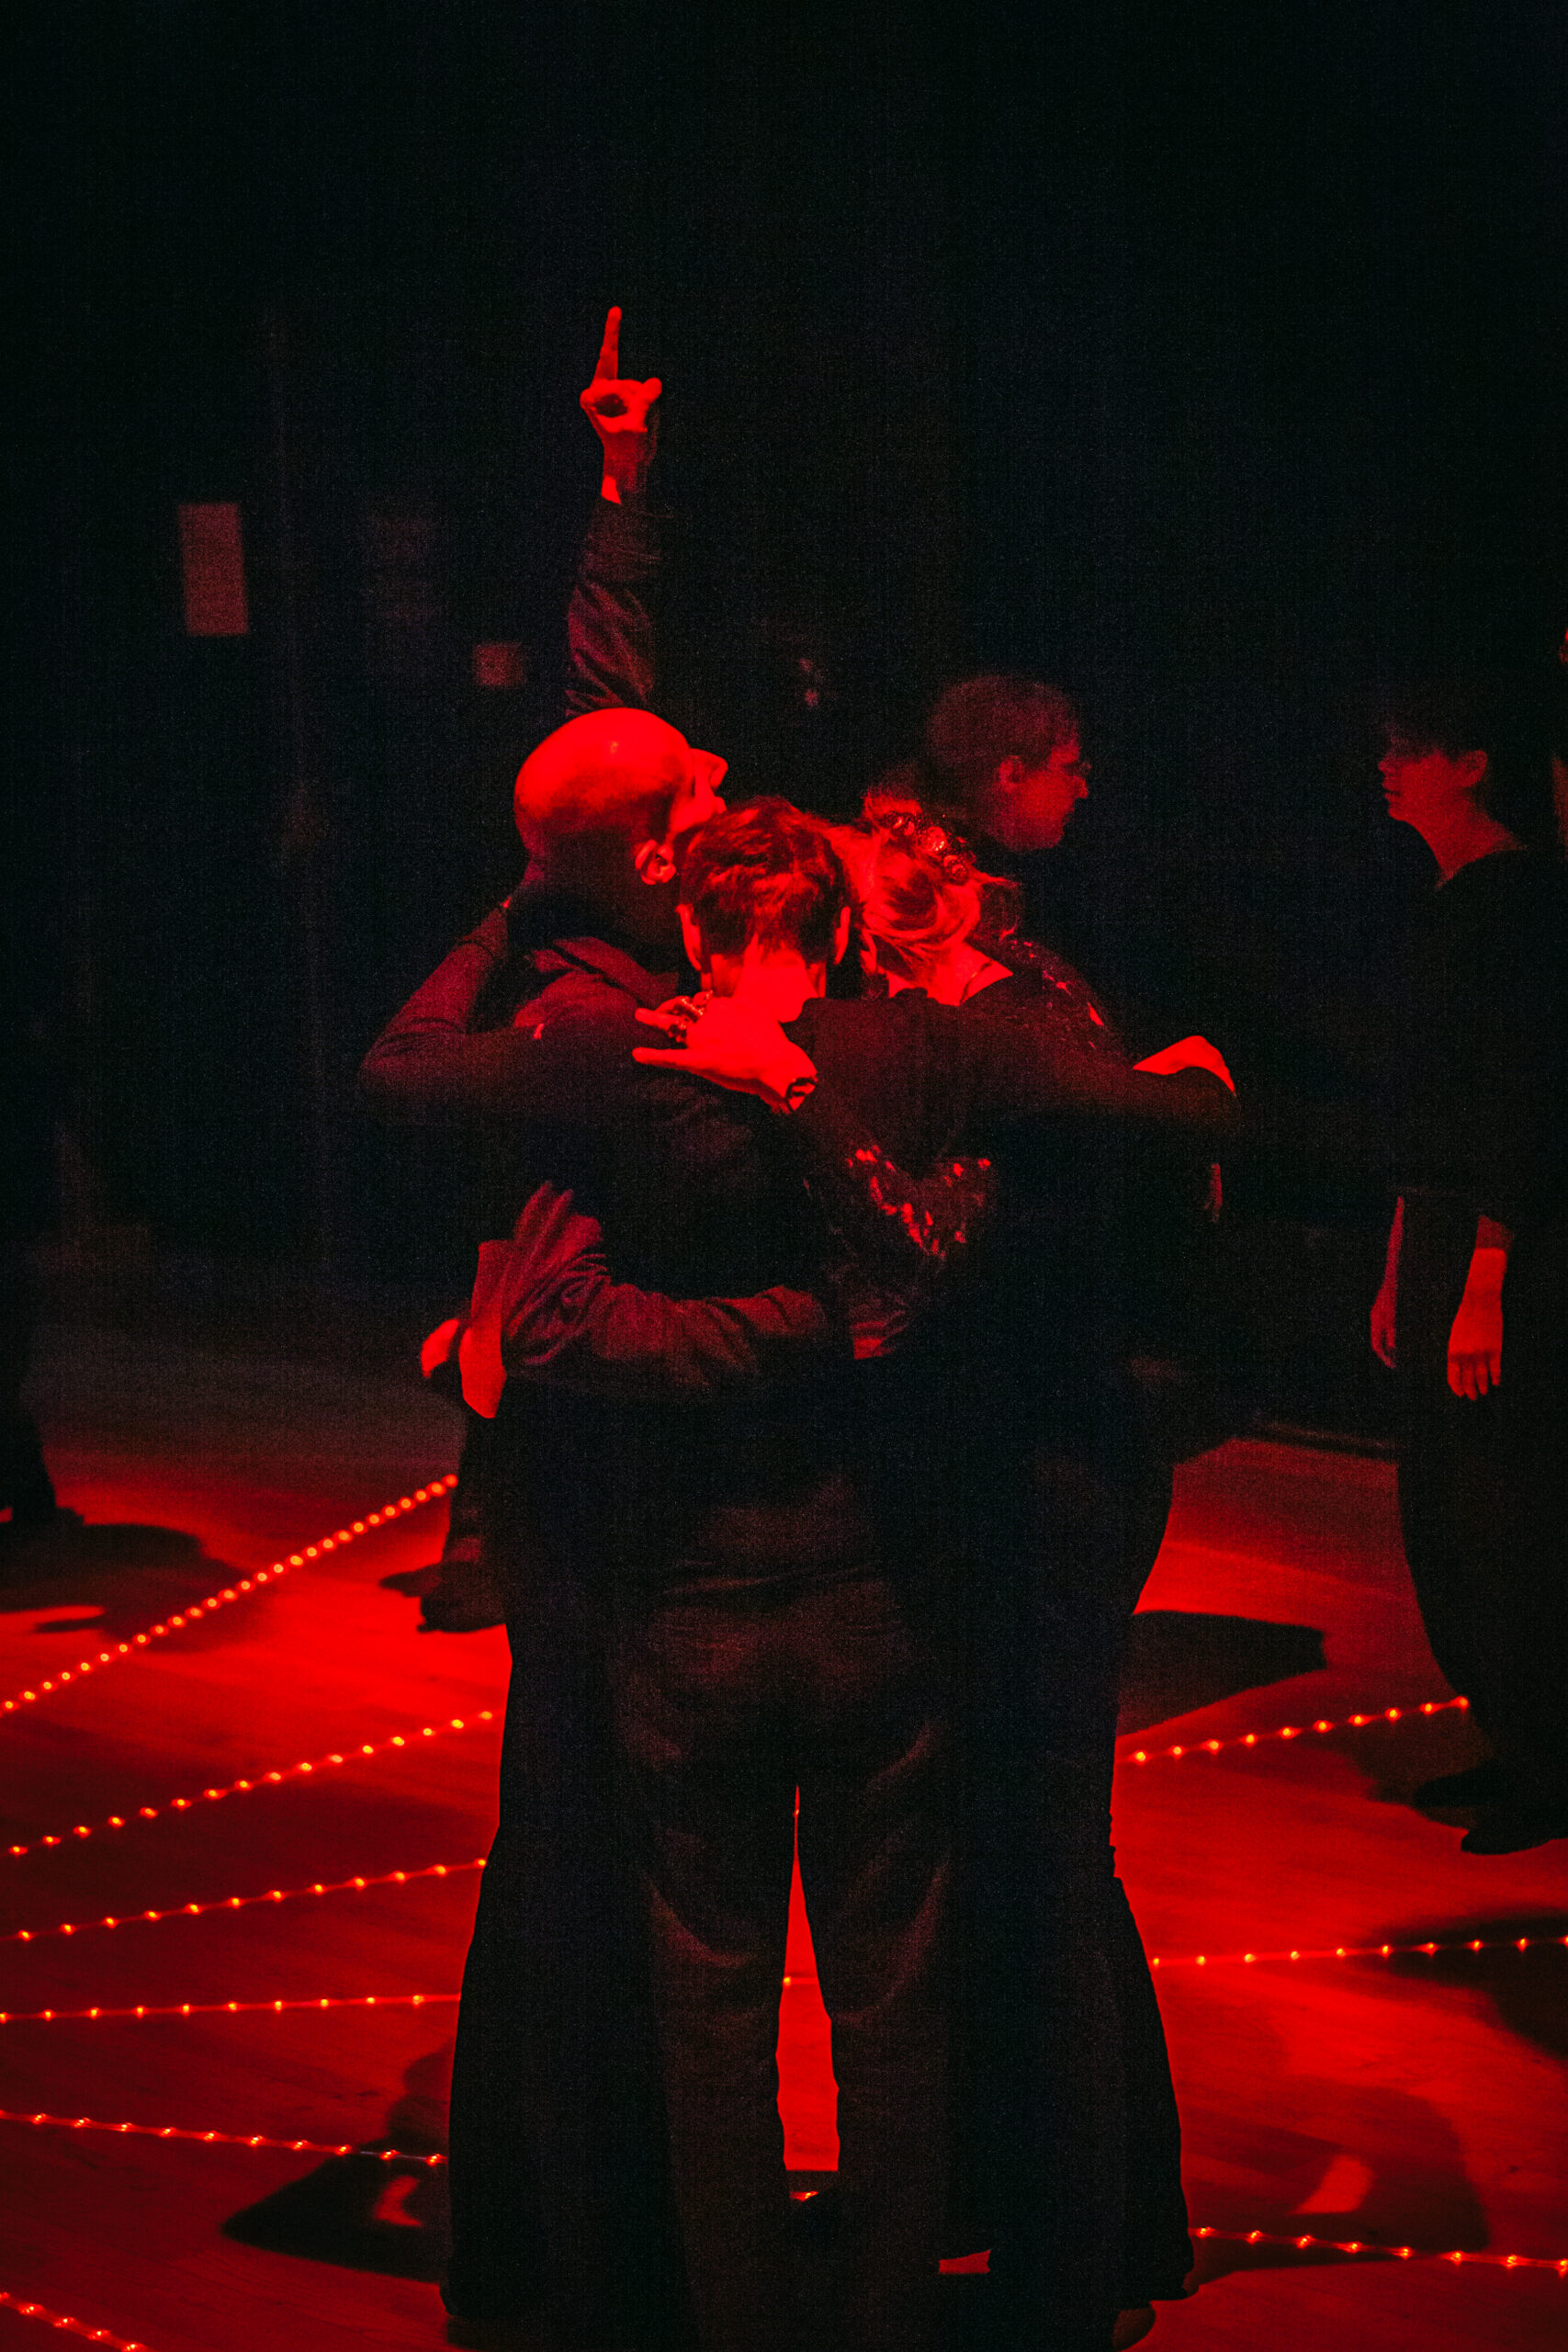
Joy is an Act of Rebellion
in
This piece was originally published in the Italian Larp Festival magazine (ILF Mag) 2025, and is republished here with thanks. In a capitalistic world that thrives on conformity, joy becomes one of the most radical acts we can choose. More than just an emotion, joy is an expression of vitality and hope. Different from the…
-
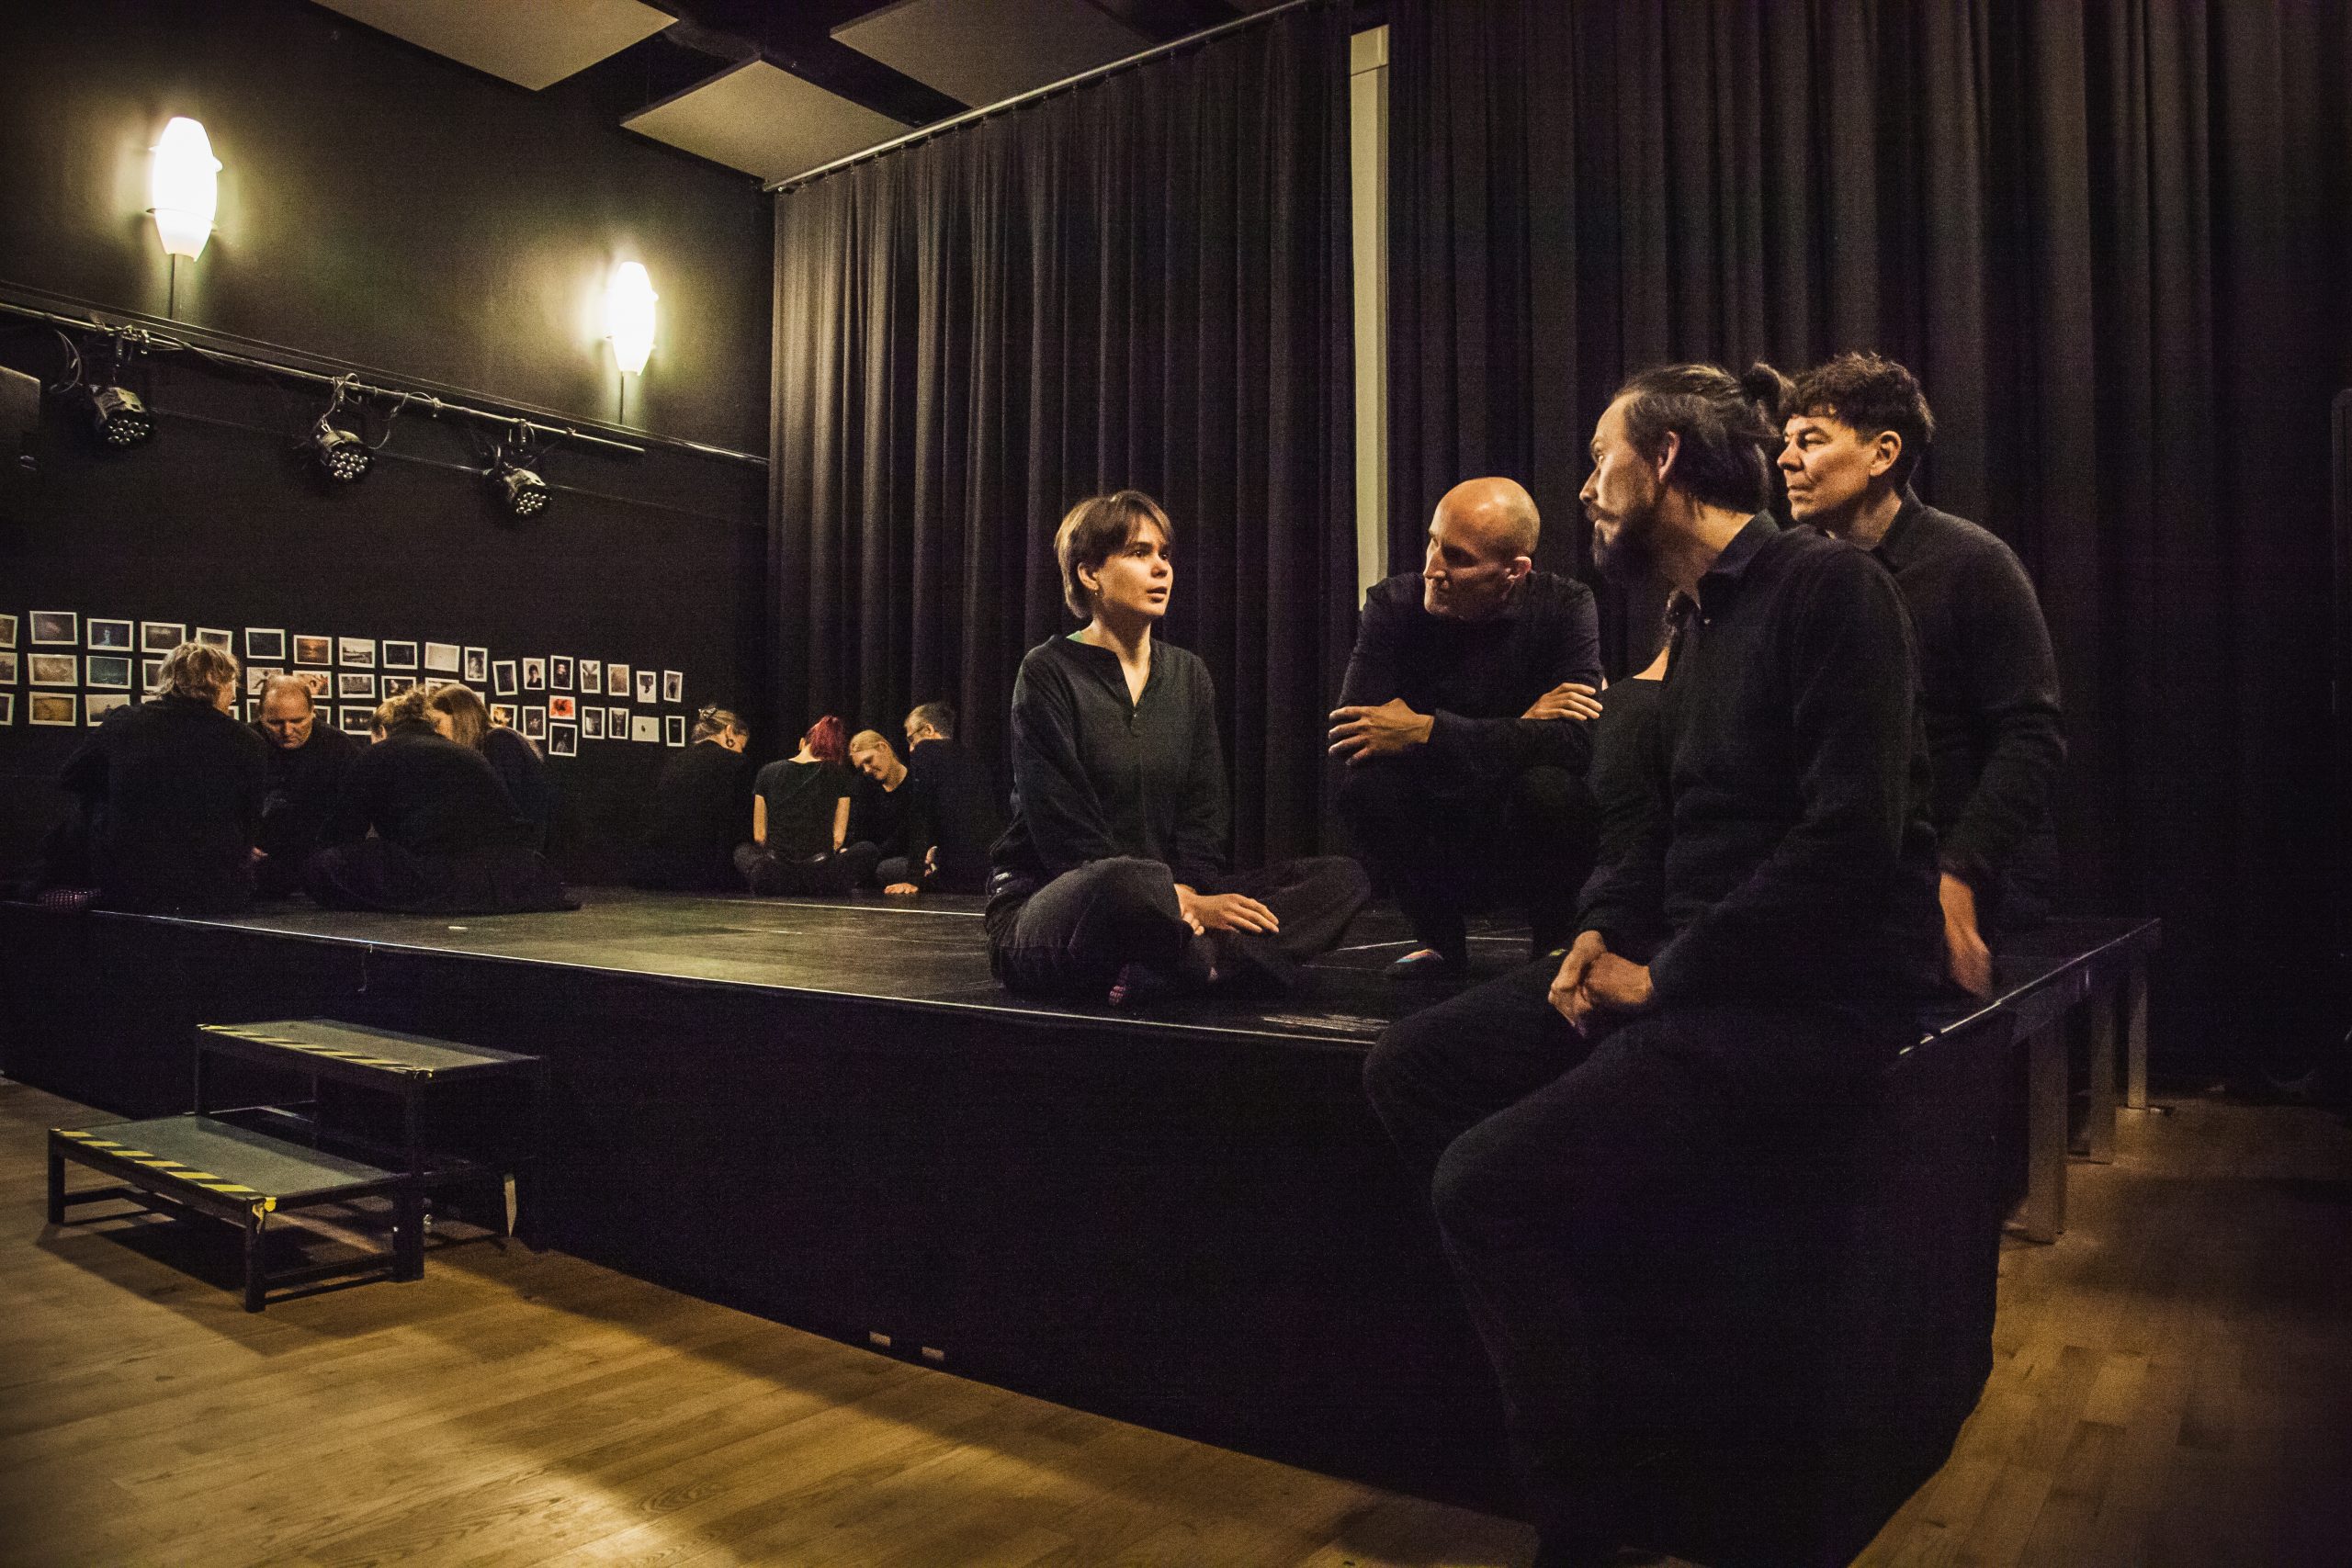
Workshop Design: A Guide
in
This article serves as a guide for workshop designers, outlining a series of steps that will take you from the initial idea to the final plan for a learning design.
-
WEB: Workshop – Exercise – Briefing
in
The most common learning formats used for the pre-play-prep before a larp are: workshop, exercise, and briefing. The WEB model described below is a visual tool in two parts, created to define, distinguish, and summarize these three types of learning sessions.
-

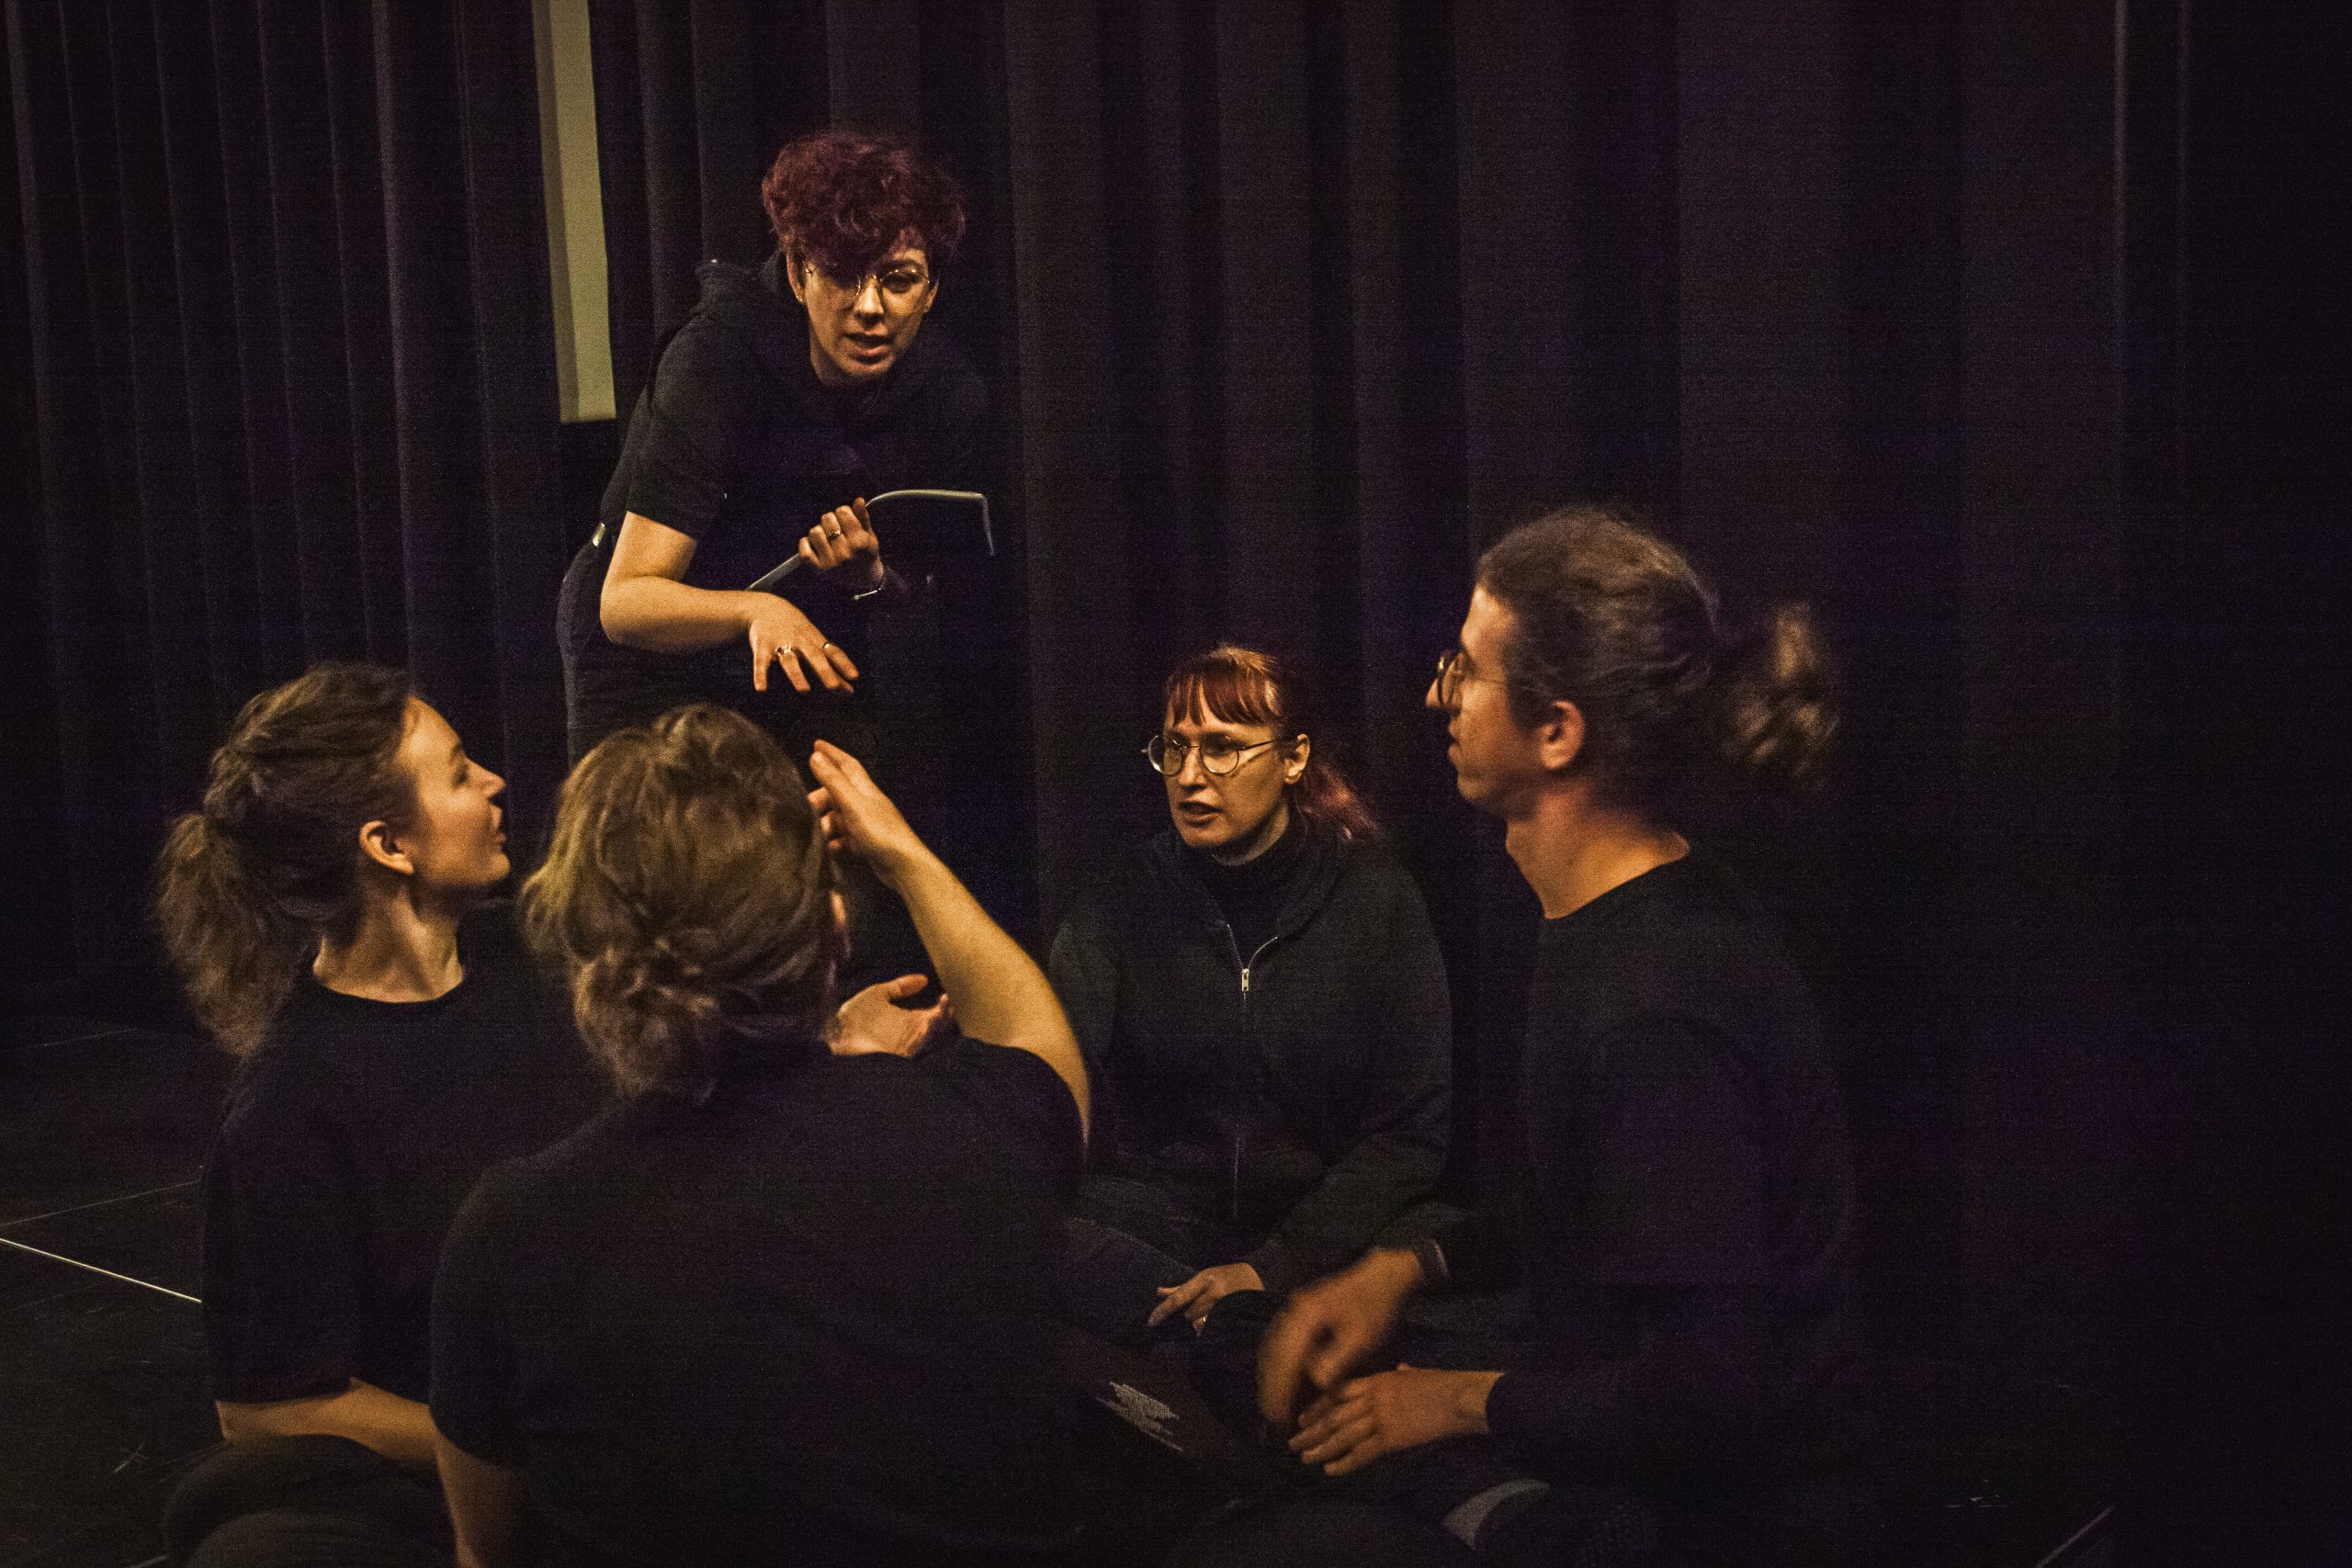
Building Player Chemistry
in
This article By Nór Hernø, introduces a workshop tool to help build player chemistry before a larp.
-
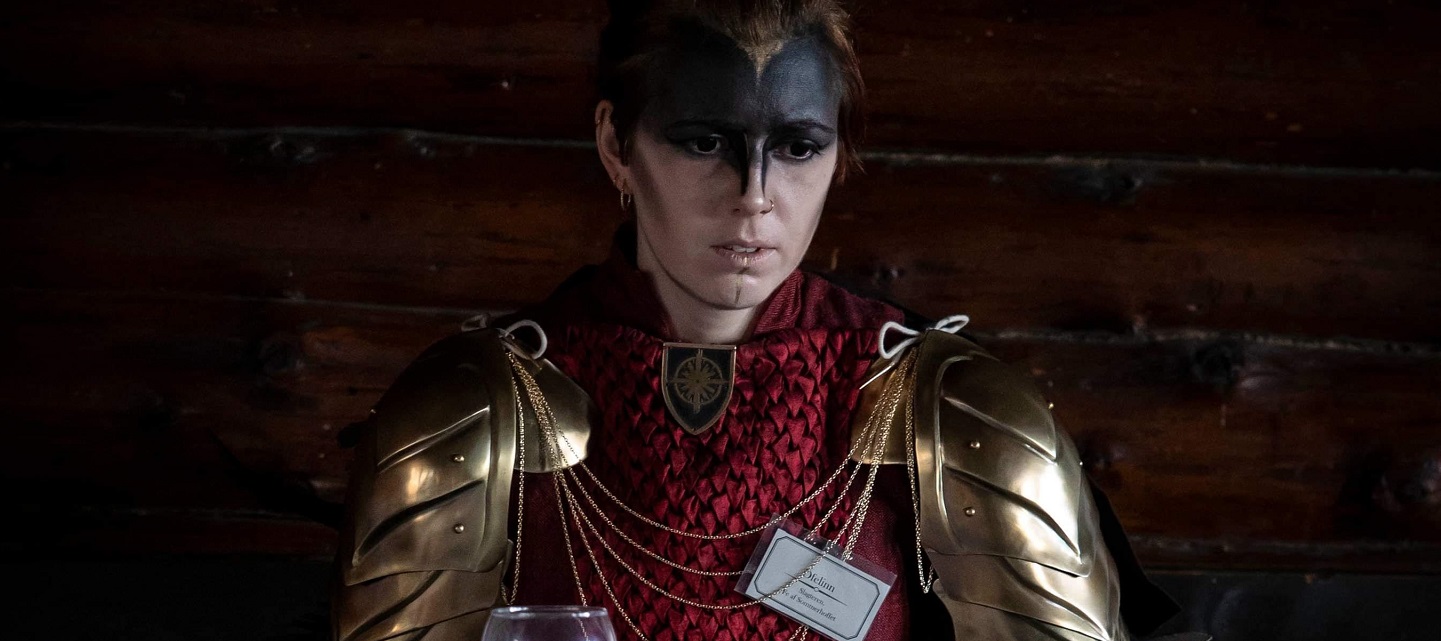
Villain Self Care
in
Strategies for playing an antagonist in a larp in rewarding ways, as well as helping with potential negative emotional effects.
-

Your Alternate Relation Narrative (YARN)
in
Creating relations between characters is essential to larp. The YARN technique helps you create playable relationships between characters.